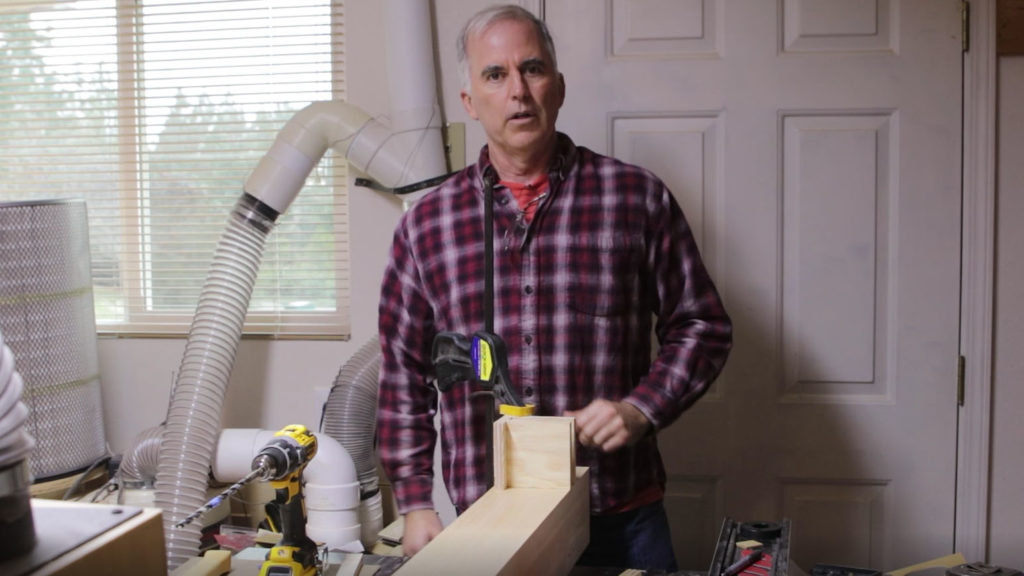
I’m finishing up the last few items before I can glue up the base, which will be exciting (and I’m a bit nervous about it too). I’ll be drilling dowel holes in the legs for the tenons, drilling three 3/4″ dog holes in the right leg, and drilling out the hole for the Benchcrafted Glide M leg vise screw in the left leg.
While I am left handed, I do some things left handed, some right, and sometimes it doesn’t matter, I can use either hand. I thought about it, and decided to go with the leg vise as standard, on the left side of the bench.
Meanwhile, I try to think about, and double and triple check each thing I do, so I don’t make a crucial mistake. For example, it wouldn’t do to drill three dog holes in the right leg and get them on the wrong side of the leg, they’d be useless in that position.
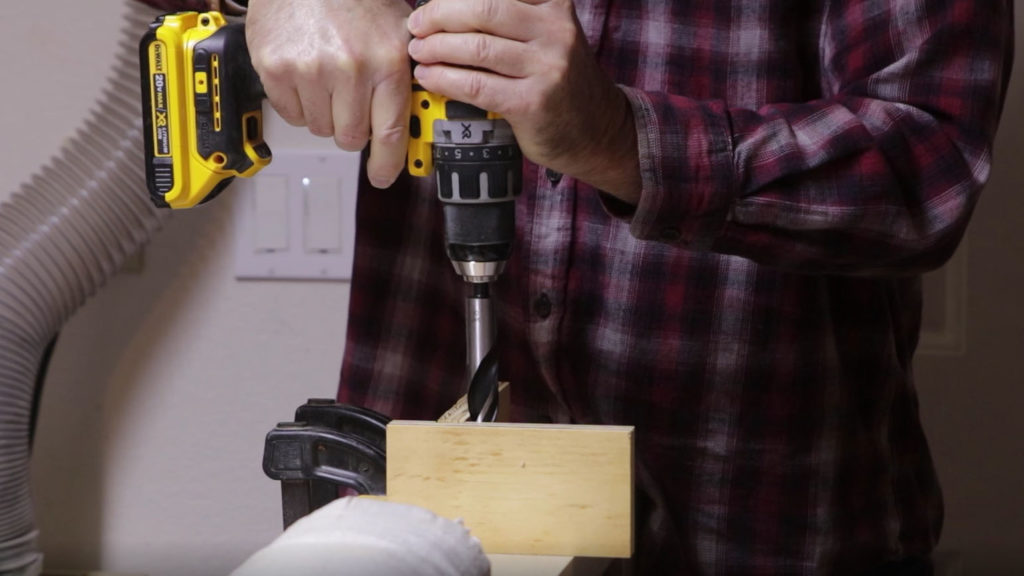
I ended up making a jig to drill the holes for the two dowels through each tenon, that way each hole would be spaced evenly apart, and evenly away from the edge of the leg. It’s basically three pieces of plywood, two pieces glued to one with two shallow dado slots cut in it. Everything 90 degrees, so when putting the drill bit in the corner, the drill will go in perpendicular. Only this jig had two corners to drill the two holes. That worked out great for four of the mortises, but then I found out, it wouldn’t fit on the other 4 mortises, as that was on the other side of the leg, and my spacer block to put it in place so far away from the edge was really in the wrong spot. Oops. At least if I was going to make a mistake, let it be on this cheap jig that really had no other use once these holes were drilled.
I used my twelve inch 3/8″ drill bit to drill these holes, which left plenty of room for the bit to follow in the corner of my jig.

Anyway, I ended up getting the two dowel holes drilled for each of the 8 tenons. Christopher Schwarz’s book says to make these dowels holes 3 3/4″ deep, and put in a 4″ dowel (cutting off the extra).
I also went ahead and drilled the three dog holes in the right leg. I used a 3/4″ brad point bit to drill these holes. For a lot of the easier holes I was using my DeWalt drill/driver set, which does an awesome job on most everything. But then I remembered in the workbench book, Chris had mentioned that dog holes and large forstner bits are better being used in a corded drill. I switched over to my corded drill after wearing out a couple of batteries pretty quickly with the DeWalt drill.

After that, I drilled a hole for the leg vise screw, but first made a larger 1/2″ hole for part of the Benchcrafted Glide M leg vise I am installing. I used my router with the guide collar in it, and the half inch up cut spiral bit. I made a few passes getting deeper each time. The forstner bit has a dimple in the center, I used that with the brad point 3/4″ bit, and finished drilling through the leg. Each time I drill through a piece, I am clamping a small board on the opposite side, so the bit doesn’t tear out the wood when coming out.

The parts needed for the base are all done, it is now time to glue up the base next!
Equipment Used:
Dowel Plate: http://amzn.to/2EhEjrz
12″ Drill bit set: http://amzn.to/2EK39y1
Router Bit: http://amzn.to/2E3ja0L
Chisel Set: http://amzn.to/2BVVFVr
Forstner Extension: http://amzn.to/2BnbyI0
Bubble Level: http://amzn.to/2Elvr50
3/4″ brad point bit: http://amzn.to/2BRNPAN
Big Tools I use:
Table Saw, SawStop PCS: http://amzn.to/2H3ySLb
SawStop Industrial Mobile base: http://amzn.to/2spo6f6
Overarm dust collector: http://amzn.to/2CdfRlR
SawStop 80 tooth blade: http://amzn.to/2Cenngl
SawStop 40 tooth blade: http://amzn.to/2CdLRXh
SawStop Dado safety cartridge: http://amzn.to/2H8e7ye
DeWalt Dado: http://amzn.to/2CeqLrs
SawStop Cast Iron Extension: http://amzn.to/2Cdtj9s
Bench Dog Router Extension: http://amzn.to/2Bpcbkr
Router: http://amzn.to/2H5YK9v
Router Lift: http://amzn.to/2Ejz3En
Band Saw: http://amzn.to/2Eh9pQG
Smaller Tools I use:
DeWalt Drill/Driver set (very nice!): http://amzn.to/2BpDMC7
Clamps: http://amzn.to/2H6tG9t
Bessey REVO Clamps: http://amzn.to/2CeGEOJ
FastCap Glue Bottle: http://amzn.to/2Cf25z5
Chisel set: http://amzn.to/2EVBUAD
Brad point drill bits: http://www.leevalley.com/us/wood/page.aspx?c=&p=42247&cat=1,180
Forstner Bit Extension: http://amzn.to/2CdxB0r
Bubble Level: http://amzn.to/2Elvr50
Sharpening Stones:
DMT 8″ Course (D8C): http://amzn.to/2hZ8AOO
DMT 8″ Fine (D8F): http://amzn.to/2hY4tCT
DMT 8″ X Fine (D8E): http://amzn.to/2Agtofq
DMT 8″ XX Fine (D8EE): http://amzn.to/2BwMziU
Camera Equipment:
80D: http://amzn.to/2EUq5KV
Lens: http://amzn.to/2CdJKCs
GoPro: http://amzn.to/2BnQa5h
Sandpaper:
3M 100: http://amzn.to/2EiI94g
3M 220: http://amzn.to/2H8us5K

