

The continuing story of my Roubo Workbench, based on the book by Christopher Schwarz. In this part, I will be doing the 8 mortises for the stretchers to fit into the legs, and showing how I made the dowels out of some white oak. A lot of the YouTube videos crack me up, because the person always says they just happened to have the wood “lying around”. Sometimes what they had lying around is quite a bit of wood. An actual fact: I happened to have this white oak just lying around. I did not have all this hard maple wood just lying around though.
I’ve never used mortise and tenon joinery before, so don’t take this as a how to make a mortise guide. Videos by Paul Sellers can do that much better. But if you are learning too, you’ll be interested to know, it wasn’t all that difficult, I think my mortises came out quite well. Not perfect, but pretty nice looking.
I started the mortise using my router with a 1/2″ spiral up cut bit. I used a hardboard template, which using the collar in my router would make the mortise about 0.1″ smaller on each side than the final size. I finished the mortise with the chisel. I wasn’t sure I could lay the template on perfect enough to try to make the mortise the exact size. As I did a few mortises, I did end up cutting them to about .05″ on each side, I was confident I could get the template that close.
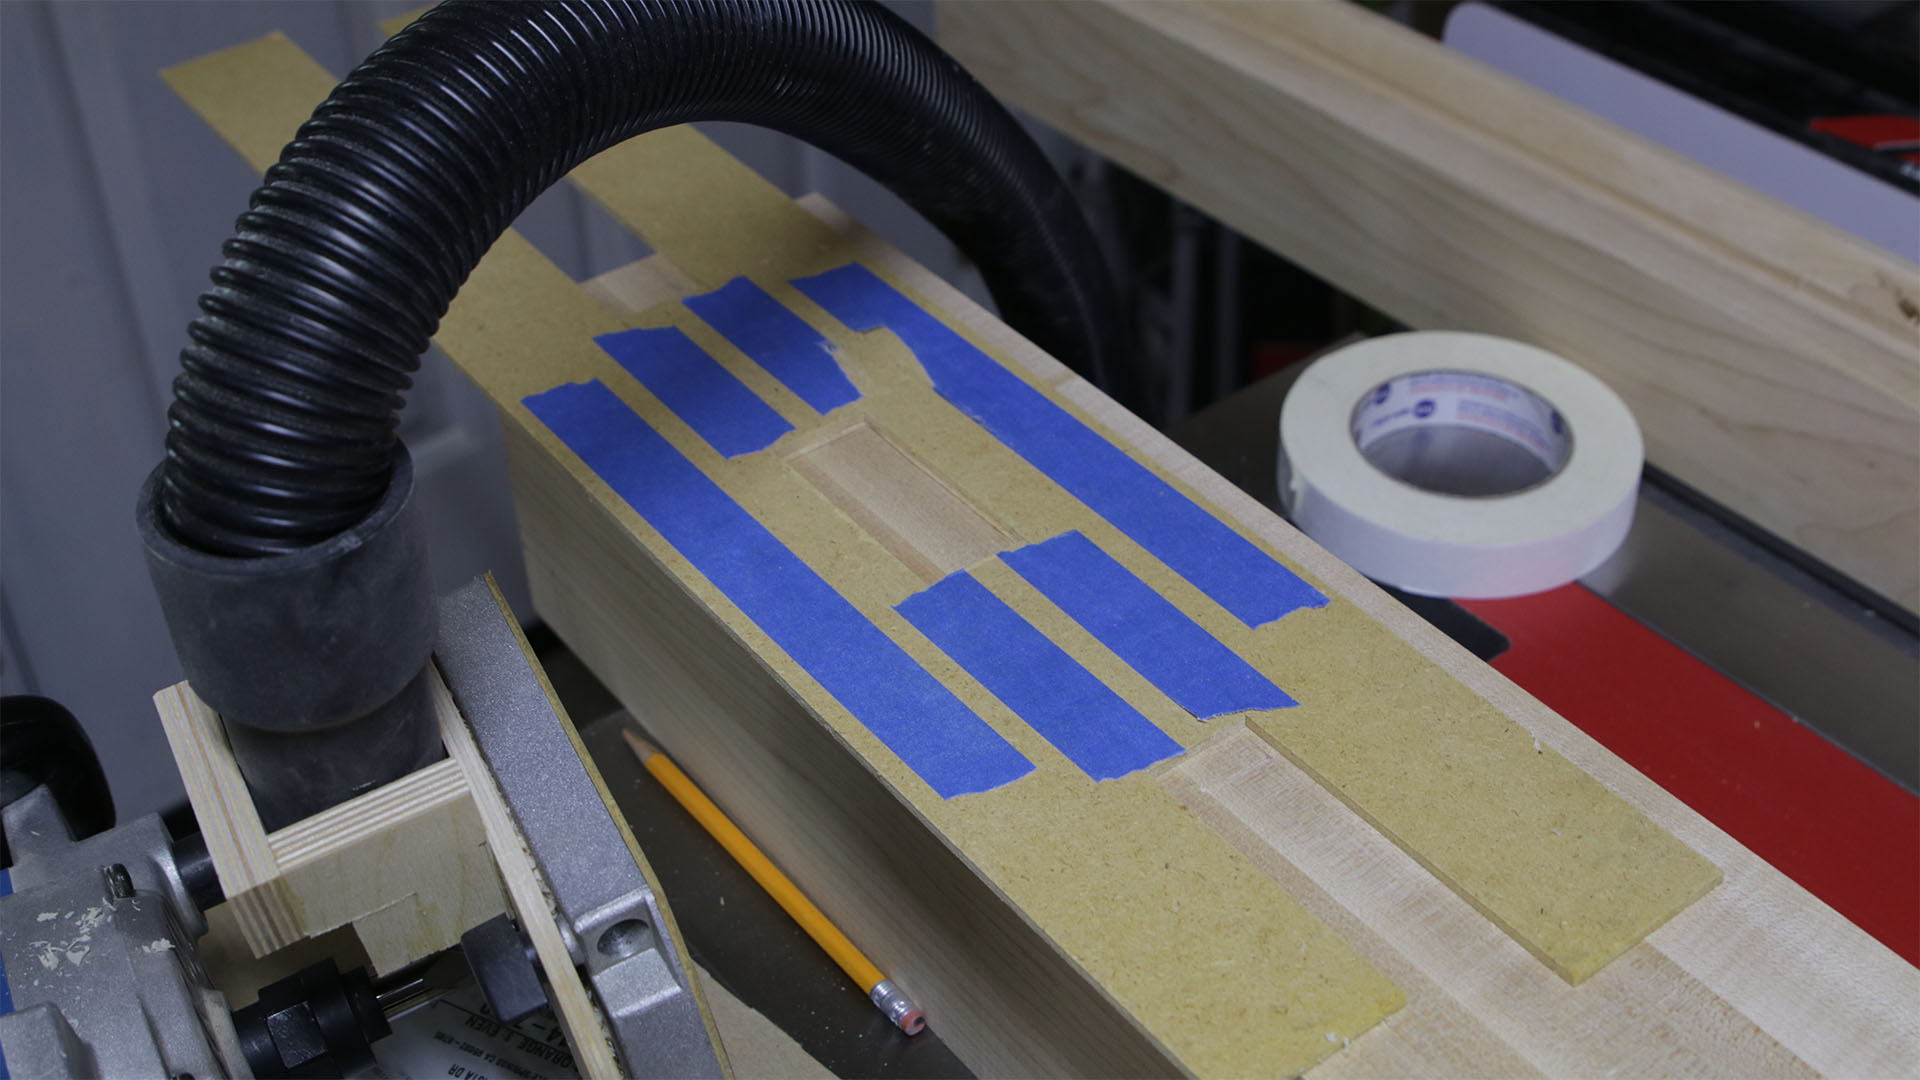

I used double sided tape to hold the template down to the leg. I ended up using the double sided tape quite a bit for this part of the project.
When doing the second mortise in the leg, if you are following along with the instructions in Christopher Schwarz’s book, the mortises will just intersect. In other words, you will be able to see through into the other mortise, just barely.
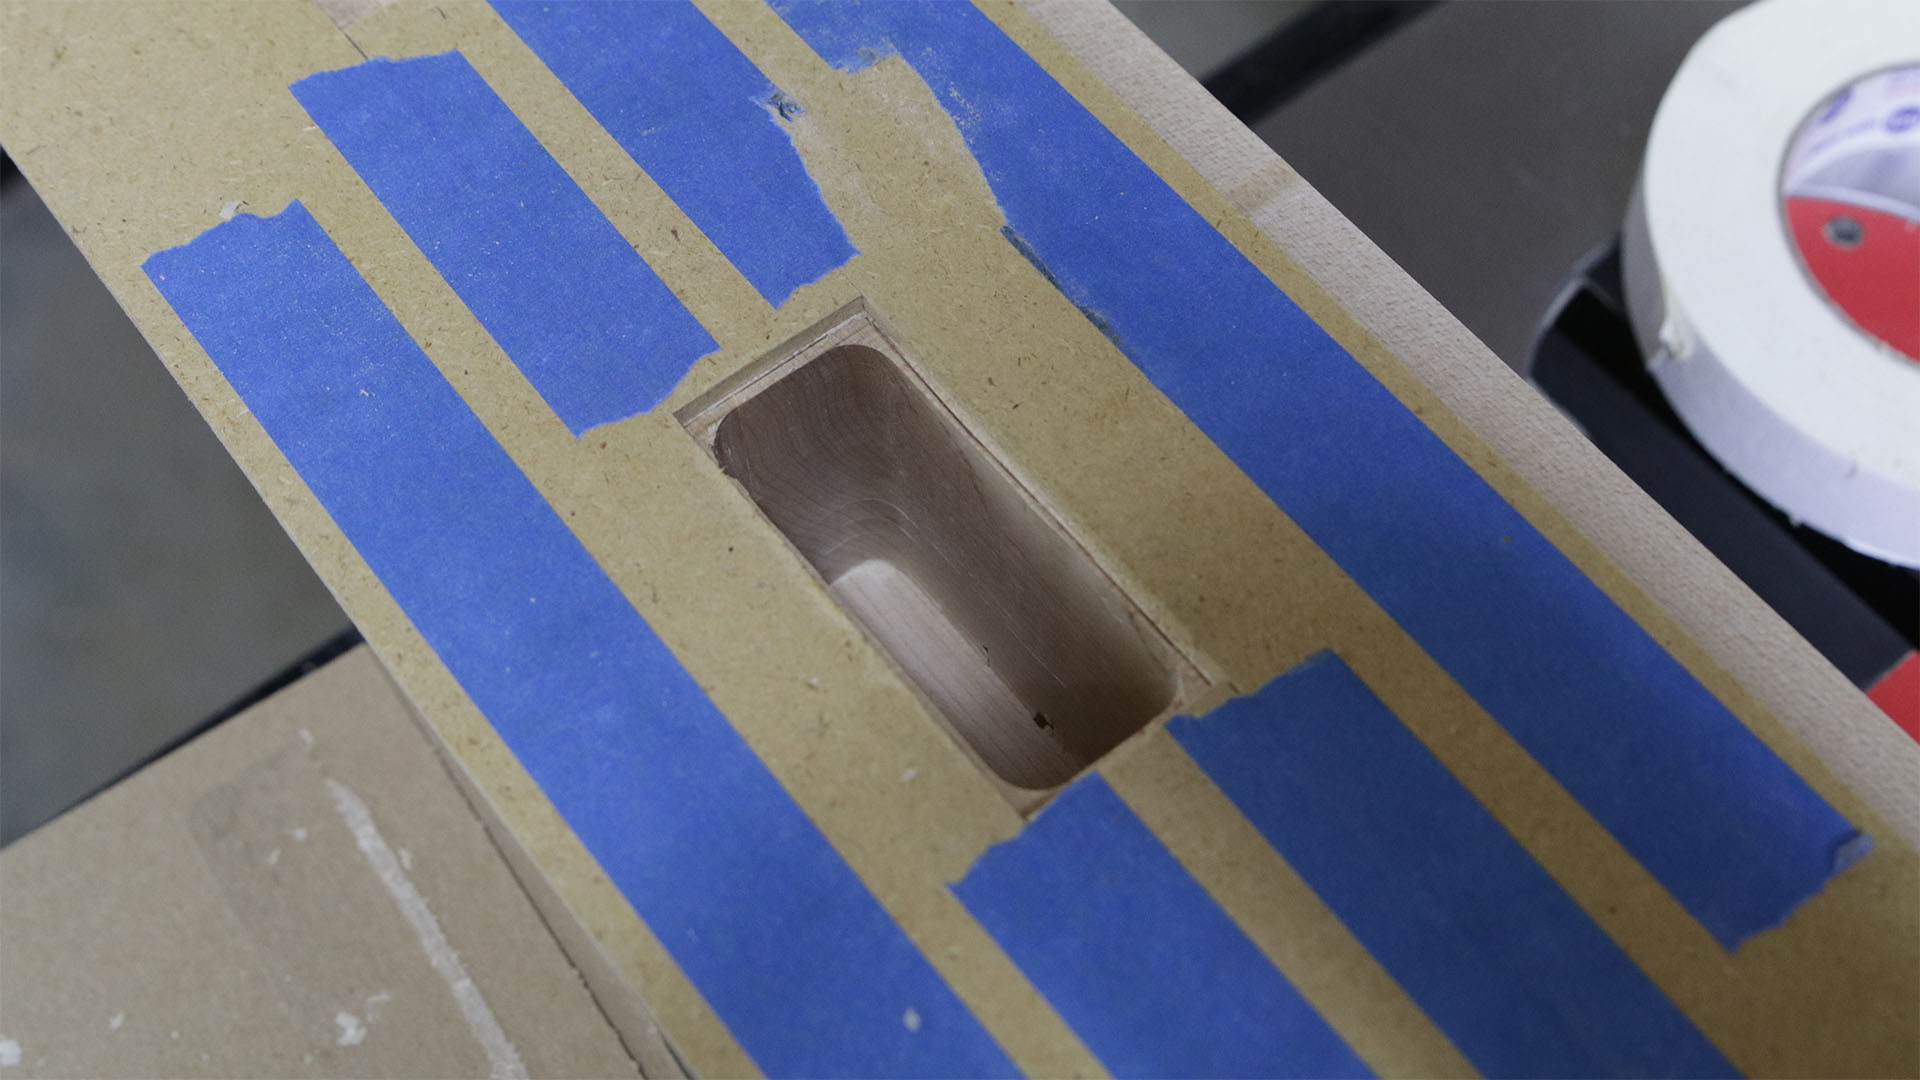
With my router, I wasn’t able to reach the depth needed. To get to 2.5″ deep, I did have to chisel down a bit deeper, which was pretty easy. The bevel on the chisel should be down in the hole. Start near one end (by the end grain), and about 1/16″ away, chisel down, then take about the same size bites going towards the center, and you will be able to chip away material easily. You won’t have a flat bottom, but that’s OK. It’s OK if the mortise is slightly deeper than the tenon.
I found that I had to do a light touchup of the chisel after a couple mortises. A quick two minute sharpening, and I was right back to easy chiseling again. It was quite obvious when I needed to sharpen, the chisel wouldn’t take a thin shaving of end grain off, and would tear the side grain, rather than cutting through it nicely.
The dowels were made from white oak, cut to slightly larger than 3/8″ strips on the band saw, then I put it through my half inch hole on the dowel plate. I found it easier to then get through the 3/8″ hole if I put it through a hole between 3/8″ and 1/2″ first. I used a drill to make a hole in some angle iron, and used that to get the dowel closer to size. Otherwise it is quite a bit of work to pound the dowel through the 3/8″ dowel plate hole.
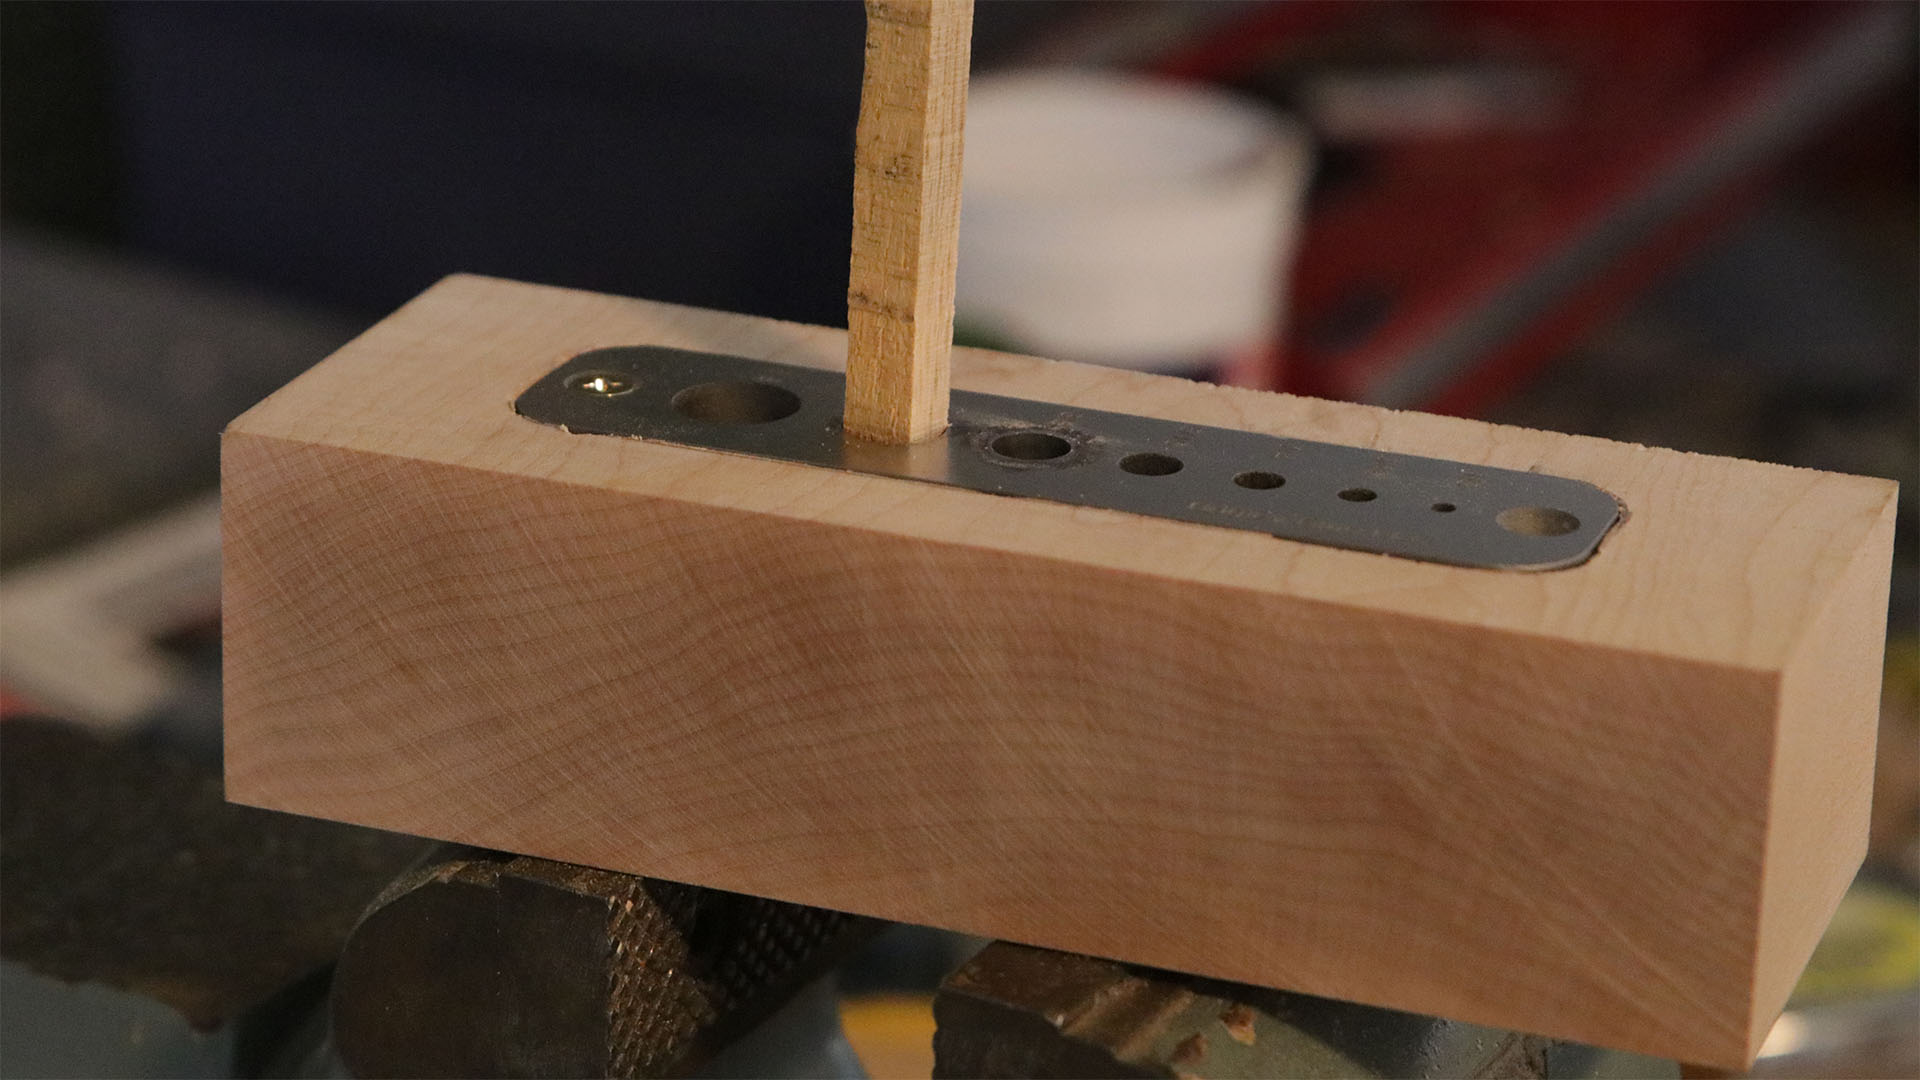
For the dowels, and for the pin for the Benchcrafted leg vise, where the pin holds the criss cross, I used a 3/8″ drill bit. This needs to be long, to go thru the leg, and the leg vise chop, and into the top to hold the legs. I bought a set of 12″ drill bits, and so far have just used the 3/8″ drill bit. The bit worked great, and it had plenty of length left for my plywood jig to help hold the bit perpendicular to what I was drilling into.
I have more done on the bench already, so should have another video and article out soon.
Tools Used:
Dowel Plate: http://amzn.to/2GRdrx5
12″ drill bit set: http://amzn.to/2BboMYc
Router bit: http://amzn.to/2GQ8Lr3
Chisel Set: http://amzn.to/2E6ouQW
Sharpening Stones:
DMT 8″ Course (D8C): http://amzn.to/2hZ8AOO
DMT 8″ Fine (D8F): http://amzn.to/2hY4tCT
DMT 8″ X Fine (D8E): http://amzn.to/2Agtofq
DMT 8″ XX Fine (D8EE): http://amzn.to/2BwMziU