I haven’t done a lot of woodworking in my life, and most of what I did wasn’t much to be proud of. In 2011, I changed when I made a wooden clock from plans, cutting out gear teeth with a scroll saw. It’s the first project I ever decided to do the ultimate great job on, and I think it turned out pretty nice. I got a new SawStop table saw recently, and decided the first project should be a new work bench. I got the Christopher Schwarz book Workbenches Revised Edition: From Design & Theory to Construction & Use and read through it trying to figure out what kind of bench I wanted. I did find out my current workbenches, built many years ago are “kitchen cabinet” type of workbench, a work surface, and storage underneath, but little opportunity to clamp your work to it to work on it.
This series of articles has companion YouTube videos you can watch, starting with the one for this article. Please subscribe and Like the YouTube video, and you can follow along with the project until it is complete.
I decided on making a Roubo style workbench, with a thick top and massive legs. The legs would be in the same plane as the top, so I could clamp large pieces to the legs if needed. I like the idea of a leg vise, so I will incorporate that into the design. To be honest, all the clamping methods were foreign to me, I had no idea what Christopher was talking about in the book. It wasn’t until I started making a few small projects after that, that I realized, oh, I see where I could clamp this to the new workbench to make it easier to work on!
According to Schwarz, under the workbench top should be empty space to allow clamping projects to the top. If you put shelves, drawers or a cabinet under it, you won’t be able to clamp things to the top. I am thinking of putting two short drawers under the workbench, but will leave plenty of room above those that is empty space. To really get an idea of all the factors to consider, check out Christopher Schwarz’s book Workbenches Revised Edition: From Design & Theory to Construction & Use.
This will be my first use of hard woods, buying unsurfaced wood, and jointing and planing it will be new to me, as well as a lot of the construction techniques. I’ll have to practice some of these on some cheaper wood before cutting into the expensive hard maple I bought for the bench. I bought several 8/4 (the hardwood way of saying 8 quarters, or two inches thick) boards for this bench.
In my first video for the workbench, you’ll see my ripping the largest board I’ve ever ripped. I’ve ripped longer boards, but they weren’t as thick. To rip long boards, I need to go out my shop door with them. The first board I cut I will be able to get 3 leg pieces, which is enough for one leg when glued up, and one longer piece for the top. It’s like a puzzle figuring out what pieces for the bench can be cut out of the larger boards. I decided to make the bench 80″ long, somewhat short, but my shop doesn’t have a ton of room. It will be about 24″ wide, and I’m going to make it the same height as my SawStop table saw, 34.25″ tall.
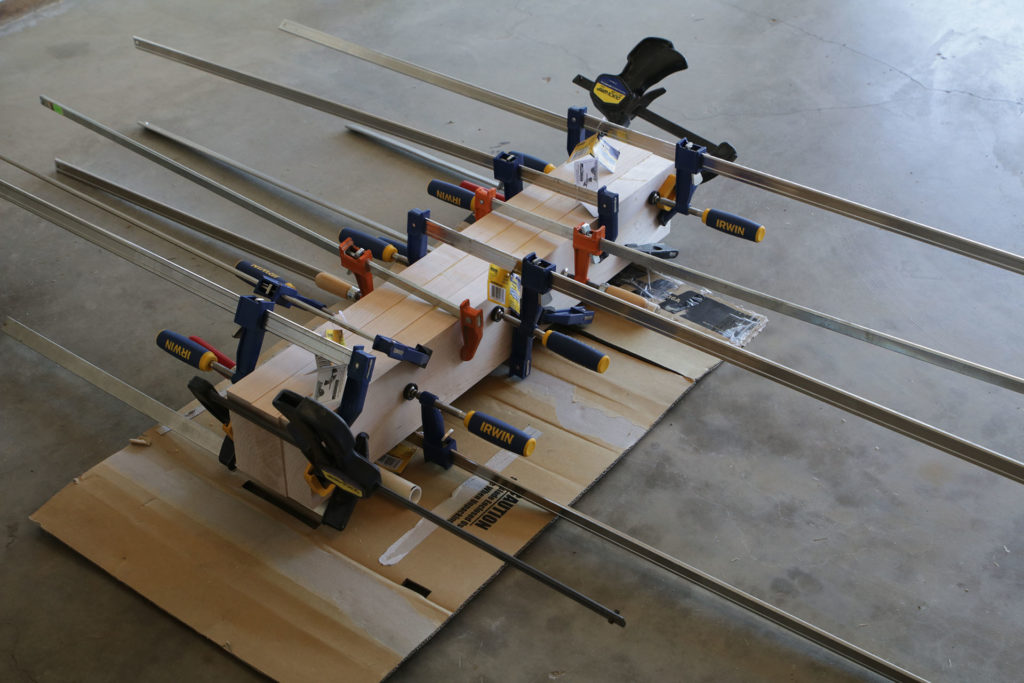
Here’s a picture of the first leg being glued up. Please watch the video to see the rest.

So that is it so far, 3 pieces for the one leg, and one piece for the top. I’ll probably be using 13 pieces for the top. Stay tuned for the rest of the project! It’ll be interesting when I get to the mortise part – I’ve never done one of those before.


Thanks, great article.